Embroidery or a patch?
Start with the artwork.
The useful comparison starts with your logo, its finished size and the cap it will sit on. Use these questions to prepare a decoration brief and review the physical sample.
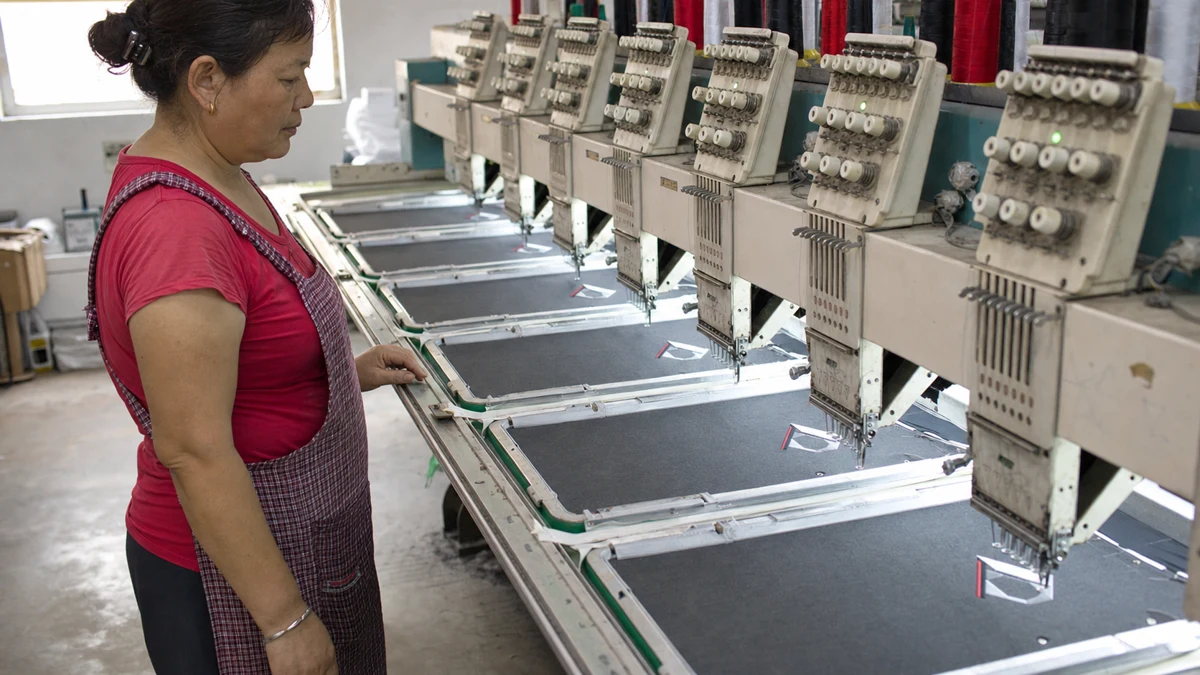
Embroidery work at Monkey Cap Works. Agree the artwork and review its application on your chosen cap.
1. Compare two ways to apply your mark.
With direct embroidery, the design is stitched into the cap material. An embroidered patch is a separate embroidered piece that is attached to the cap. Both approaches need a clear brief about the logo, size, placement and finish.
Our decoration references include flat embroidery, raised embroidery and an embroidered patch. Use those images to explain the direction you like, then ask which approach can be reviewed for your own artwork and cap construction.
For a baseball cap or trucker hat, include the exact style reference in the discussion. The front panel, seams and intended decoration position are part of the same decision. A technique shown on another cap still needs to be assessed for your selected style.
2. Show the logo at its intended finished size.
Send the clearest artwork you have, together with an editable version if available. Ask the team which file format is suitable for preparing your design. Include a simple visual showing where the logo should sit and give its intended width and height.
Look closely at small lettering, narrow gaps, thin lines and color transitions. Mark the details that are essential to your brand. Ask the team to identify any proposed simplification before the sample is made, then review the result at the agreed size.
- Identify the exact logo version and remove superseded alternatives from the final brief.
- State finished width and height with units.
- Show front, side or back placement on the chosen cap reference.
- List color references and discuss the available thread and material options.
- Identify any detail that needs particular attention during sample review.
Print the artwork at your proposed finished dimensions and hold it against a similar cap. This can help you discuss proportion and position. The physical production sample remains the reference for the finished decoration.
3. Compare the questions that affect your order.
Put both options against the same artwork and cap specification. The table below gives you a set of questions to resolve with the team before choosing a direction.
| Decision | Direct embroidery | Embroidered patch |
|---|---|---|
| Artwork | Which details can be stitched at the intended size on this cap? | Which details can be reproduced within the proposed patch shape and size? |
| Position | How will the design sit relative to panel seams and the brim? | How will the patch outline sit on the panel, including any seam it crosses? |
| Finish | What stitch appearance and inside finish will the sample show? | What edge, backing and attachment method are proposed for this cap? |
| Approval | Can the sample show the decoration on the selected cap material? | Can the sample show the finished patch attached to the selected cap? |
| Quotation | What does the quoted specification include, and which changes need a revised quote? | What does the quote include for the patch and its application, and which changes need review? |
If you are comparing quotations, keep the logo version, dimensions, cap material and quantity breakdown consistent. Ask for any differences in the proposed specification to be written down so that you can assess the alternatives.
4. Review the decoration on the complete cap.
Use the physical sample to check proportion, placement, color and finish together. View the cap from the front and side, then inspect the inside where the decoration has been applied. Compare each point with the artwork and written brief.
For an embroidered patch, also review the outline, edge finish and how it is attached. For direct embroidery, review the stitch appearance and the surrounding cap surface. Record anything you want changed with a marked photo and a short written instruction.
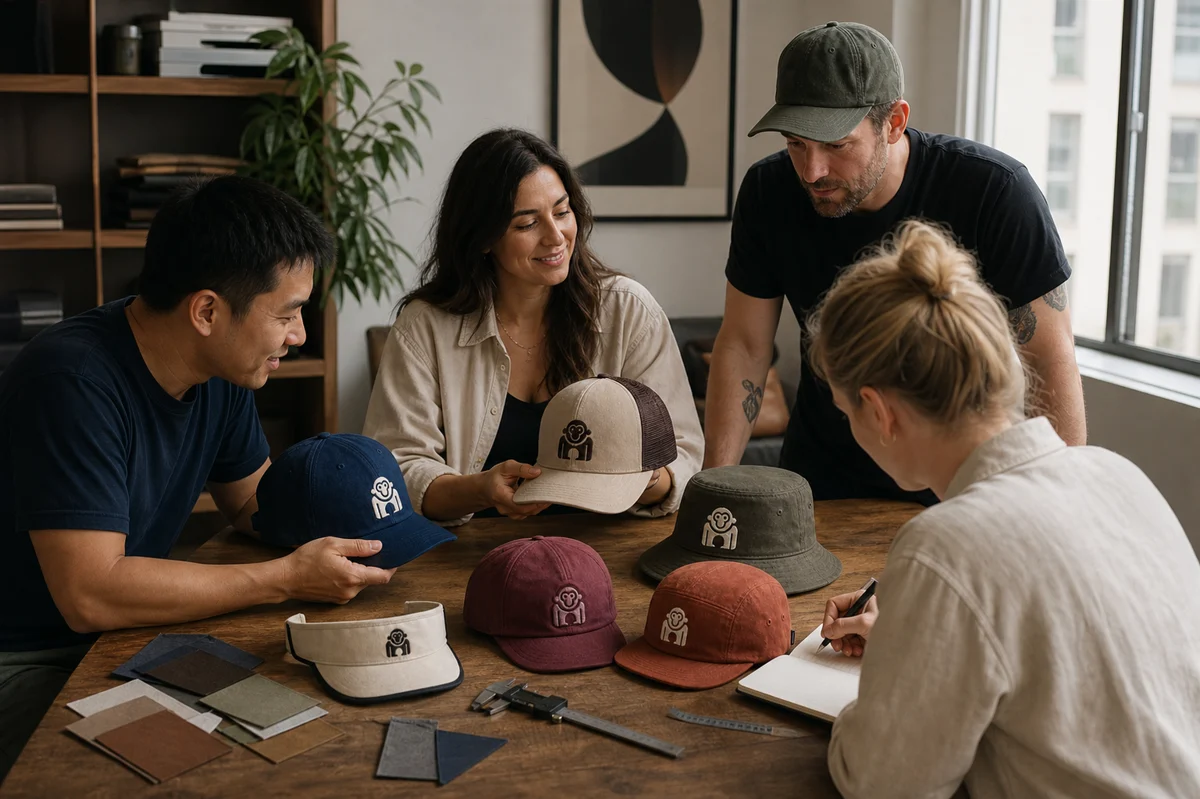
Raise any care, durability, testing or market-specific requirements before approval. Ask what supporting information is available for the actual materials and application selected for your project.
5. Keep one clear approval record.
Give the final artwork and sample a version reference. Record the cap style, decoration method, logo dimensions, placement and colors in the same approval message. List any remaining changes and ask whether another sample is needed.
A change to the logo, its size, the cap material or the attachment specification can require another review. Confirm its effect on the quotation and schedule before production proceeds. Our sampling and production workflow explains how these decisions fit into the wider order process.
For quantities and the separate sampling, production and shipping stages, use the custom cap order checklist. Keep decoration approval linked to the agreed specification for that order.
A decoration brief you can work through.
Include these details with your artwork
- Cap style and color reference.
- Quantity for each style and color.
- Logo file and version name.
- Proposed direct embroidery or patch, with any alternative clearly labeled.
- Finished decoration width, height and position.
- Color references and essential design details.
- For a patch, the proposed shape, edge and attachment questions.
- Sample checks and any required care or test information.
Mark open questions so the team can help resolve them. On the inquiry page, attach your artwork and reference images and explain what you want to compare. Share artwork you are entitled to use.
Questions before you choose.
Can you recommend a method from my logo?
Send the logo, its intended finished size, the selected cap style and quantity breakdown. The team can review the specification and identify questions to resolve through sampling.
Can I change the patch or logo after sample review?
Describe the change and confirm whether a revised sample, quotation or schedule is required. Keep the final approval tied to the updated version.
Does a patch need its own attachment specification?
Yes. Ask how the patch will be attached to your selected cap and review the finished application on the sample, including its edge and inside finish.
What if I only have a small image of the logo?
Send the available image and explain the finished size you have in mind. Ask which additional artwork is needed before preparing a sample.
Bring the artwork.
Let’s review the details.
Share your cap reference, logo dimensions and the options you want to compare.
Discuss your decoration brief ↗